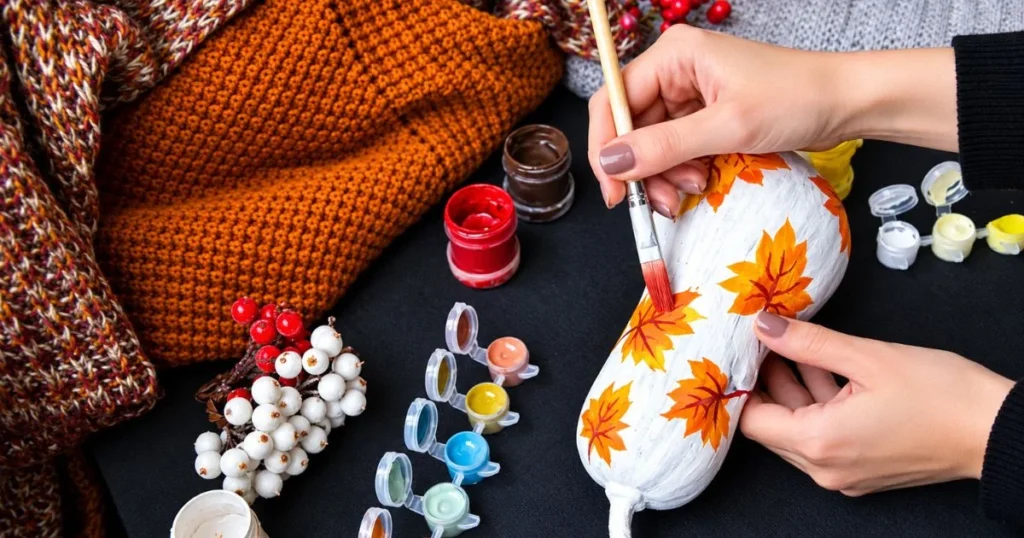
Fall is the perfect season to get creative with your decorations, and these pumpkin painting ideas show you how to make something beautiful without carving knives, messy pumpkin guts, or complicated craft supplies. With a few colors and a little imagination, you can transform an ordinary pumpkin into a cheerful Halloween character, an elegant fall centerpiece, or a fun craft to enjoy with your kids.
These pumpkin painting ideas offer inspiration for every style and skill level. Explore simple designs for beginners, adorable animal pumpkins for children, spooky Halloween decorations, and elegant painted pumpkins that look beautiful on your porch or mantel.
Whether you’re decorating your home for autumn or planning a cozy family craft day, these no-carve pumpkin painting ideas will help you create something special without cutting into your pumpkin.
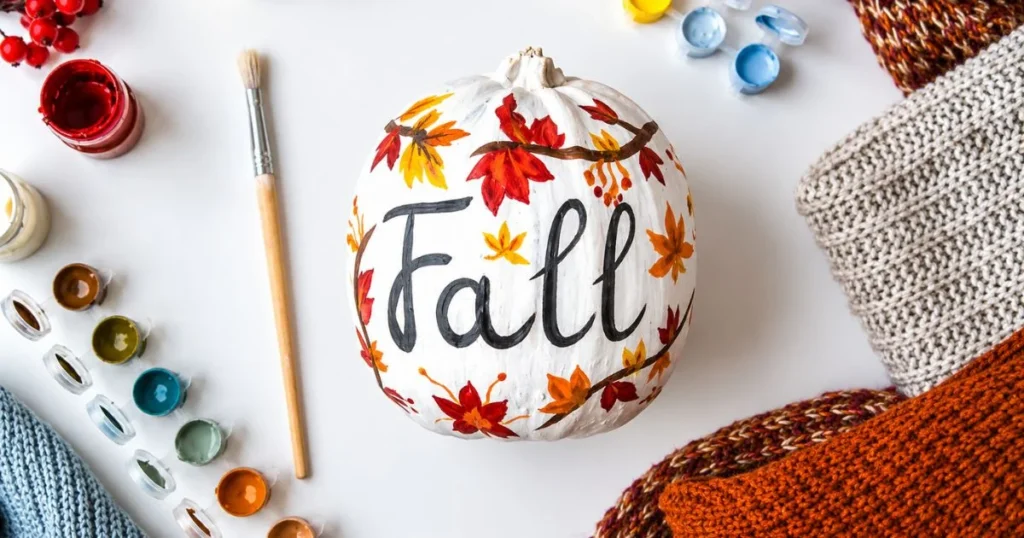
Why Choose Pumpkin Painting Instead of Carving?
Pumpkin carving is a beloved fall tradition, but pumpkin painting ideas offer another fun way to decorate for the season. You can explore different colors, try creative patterns, and invite children to participate in age-appropriate activities without handling carving tools.
Here are some reasons to try these pumpkin painting ideas this fall:
- More creative options: Experiment with colorful patterns, adorable faces, floral designs, and minimalist artwork.
- Easy for beginners: Many pumpkin painting ideas use just a few paint colors and simple brushes.
- Fun family activities: Kids can join in by painting basic shapes, dots, and patterns with suitable materials and adult supervision.
- Versatile fall decorations: Neutral pumpkins complement your autumn decor, while ghosts and black cats add a festive Halloween feel.
- Decorations you can reuse: Artificial pumpkins can often be stored and redecorated in future seasons, making them a practical choice for seasonal crafts.
Should You Paint a Real or Artificial Pumpkin?
| Feature | Real pumpkin | Artificial pumpkin |
| Appearance | Natural shape and texture | Depends on the material and design |
| Preparation | Clean and dry the surface | Follow the manufacturer’s instructions |
| Durability | Eventually deteriorates | Often reusable |
| Paint selection | Choose paint suitable for the surface | Check compatibility with foam, plastic, or other materials |
| Best for | Natural seasonal displays | Reusable crafts and long-term decor |
If you’re decorating with young children, either option can work. Choose a real pumpkin for its natural appearance or an artificial one if you want to keep the finished decoration for another year.
40 Easy and Creative Pumpkin Painting Ideas
From simple dots to detailed Halloween characters, these painted pumpkin ideas offer plenty of inspiration. Start with a design that matches your skill level, then customize the colors to suit your home or celebration.
Easy Pumpkin Painting Ideas for Beginners
You don’t need to be an artist to create an attractive painted pumpkin. Simple shapes, a limited color palette, and a little patience can go a long way.
1. Polka Dot Pumpkins
Polka dots are among the easiest pumpkin painting ideas to try. Choose two or three colors and scatter dots across the pumpkin for a cheerful, playful design.
What you’ll need: Craft paint, a small brush or sponge dauber, and a pumpkin.
How to make it:
- Choose a base color or leave the pumpkin in its natural color.
- Dip a sponge dauber into your first paint color.
- Add dots around the pumpkin, leaving space between them.
- Repeat with other colors after the first dots have dried.
Try cream, sage green, and muted orange for a soft fall look.
2. Striped Pumpkin
Striped designs are among the easiest pumpkin painting ideas for creating a neat, stylish look without advanced drawing skills. Use painter’s tape to divide the pumpkin into vertical or horizontal sections, then fill the spaces with alternating shades.
Choose black and white for a modern finish, or mix burnt orange, cream, and brown for a warm, autumn-inspired design.
3. Rainbow Pumpkin
Add a cheerful touch to your autumn decor with these rainbow-inspired pumpkin painting ideas. Paint colorful arches across the pumpkin using a small brush, or create wider curved bands around its surface.
Choose vibrant rainbow colors for a playful finish, or use soft, muted shades for a more subtle and elegant look.
4. Two-Tone Pumpkin
A two-color design is one of the simplest pumpkin painting ideas for creating a polished, modern look. Use painter’s tape to separate the pumpkin into two sections, then paint each half in a different shade.
Try one of these color pairings:
- Cream and sage green
- Black and white
- Beige and burnt orange
- White and metallic gold
For crisp, clean lines, let the first painted section dry before removing the tape or applying paint to the other side.
5. Abstract Brushstroke Pumpkin
For a creative twist on traditional pumpkin painting ideas, experiment with abstract brushstrokes instead of a precise pattern. Use a mix of short lines, curved strokes, and overlapping shapes in colors that complement one another.
The beauty of this design is that the marks don’t have to be perfectly matched. Neutral shades paired with the pumpkin’s natural color can create a relaxed, artistic look that suits your fall decor.
Cute Pumpkin Painting Ideas for Kids
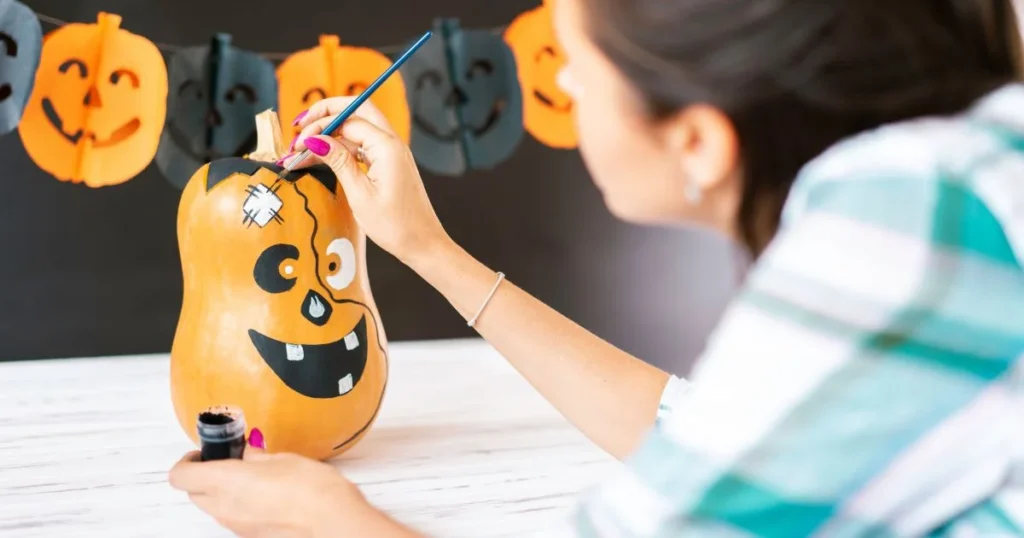
When trying pumpkin painting ideas with kids, focus on having fun together rather than achieving a flawless finish. Pick easy designs that allow your child to join in without needing intricate details or difficult painting skills.
6. Smiley Face Pumpkin
Paint a friendly face with two eyes and a curved smile. You can make the expression happy, surprised, sleepy, or silly.
For younger children, prepare the pumpkin and paint the outline first. Let them help fill in larger areas with suitable brushes or sponges.
7. Animal-Themed Pumpkins
Turn an ordinary pumpkin into a favorite animal. Cats, foxes, owls, and bunnies are all great choices.
- Cat: Paint a face, whiskers, and pointed ears.
- Fox: Use orange and white paint for the face and muzzle.
- Owl: Add large eyes, a small beak, and feather-inspired patterns.
- Bunny: Paint a sweet face and add ears made from securely attached craft material when age-appropriate.
Choose large, simple shapes if you’re making these designs with younger children.
8. Funny Monster Pumpkin
Make your own playful monster with these fun pumpkin painting ideas. Start by painting the pumpkin purple, green, or blue, then add goofy eyes, expressive eyebrows, and a silly mouth.
Create a cheerful monster with a wide grin or give it a slightly spooky look for Halloween. Painting the facial features directly onto the pumpkin can also be a simpler option than adding small decorations that might come loose.
9. Flower and Butterfly Pumpkin
Bring a touch of nature to your fall decor with these floral pumpkin painting ideas. Paint a few large flowers first, then add leaves, butterflies, or small dots to fill the open spaces.
This colorful design is ideal for children who love drawing and families looking for bright, friendly autumn decorations without spooky Halloween themes.
10. Fingerprint Pumpkin Art
Among creative pumpkin painting ideas for kids, fingerprint art is a lovely way to make a unique keepsake. Use child-appropriate washable craft paint to turn little fingerprints into colorful dots, flowers, leaves, or miniature creatures.
Try this simple project:
- Choose a clean pumpkin.
- Apply a small amount of suitable paint to a child’s fingertip.
- Press gently onto the surface.
- Let the marks dry before adding stems, wings, or other details with a brush.
Use products labeled for the intended age group, supervise closely, and keep paint away from mouths and eyes.
11. Emoji Pumpkins
Make a happy emoji pumpkin with these playful pumpkin painting ideas using yellow paint and easy facial features. Try heart-shaped eyes, a surprised expression, or a wide, cheerful smile.
If your pumpkin has a different natural color, paint it with a suitable yellow base coat first. Let the surface dry fully before adding the eyes and mouth.
12. Unicorn Pumpkin
For a magical design, paint a pumpkin white or pastel pink and add a colorful mane, closed eyes, and a decorative horn.
Use painted details wherever possible. If you add a horn or other accessories, make sure they’re appropriate for the intended age group and securely attached.
13. Dinosaur and Forest Animal Pumpkins
Bring adorable animals to life with these creative pumpkin painting ideas inspired by dinosaurs, hedgehogs, and woodland creatures. Use green paint for a dinosaur face or combine brown and cream for a forest-themed look.
Keep the artwork simple by adding eyes, a mouth, spots, or painted spikes. These small details can make each character recognizable without needing lots of supplies or advanced painting skills.
Easy Halloween Pumpkin Painting Ideas
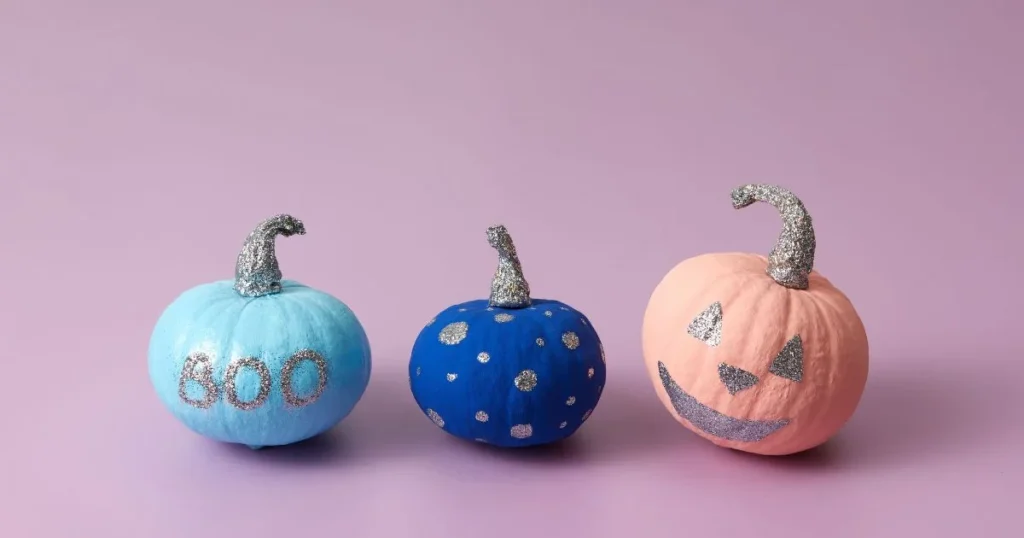
If you love Halloween but want an alternative to traditional carved jack-o’-lanterns, these designs offer plenty of spooky fun without cutting into the pumpkin.
14. Black Cat Pumpkin
For a spooky yet adorable addition to your pumpkin painting ideas, paint the pumpkin black and give it pointed ears, glowing-looking eyes, and delicate whiskers. Choose yellow eyes for a mysterious Halloween cat or add a little smile for a friendlier look.
If you prefer a quicker design, keep the pumpkin orange and paint only the cat’s face on its surface.
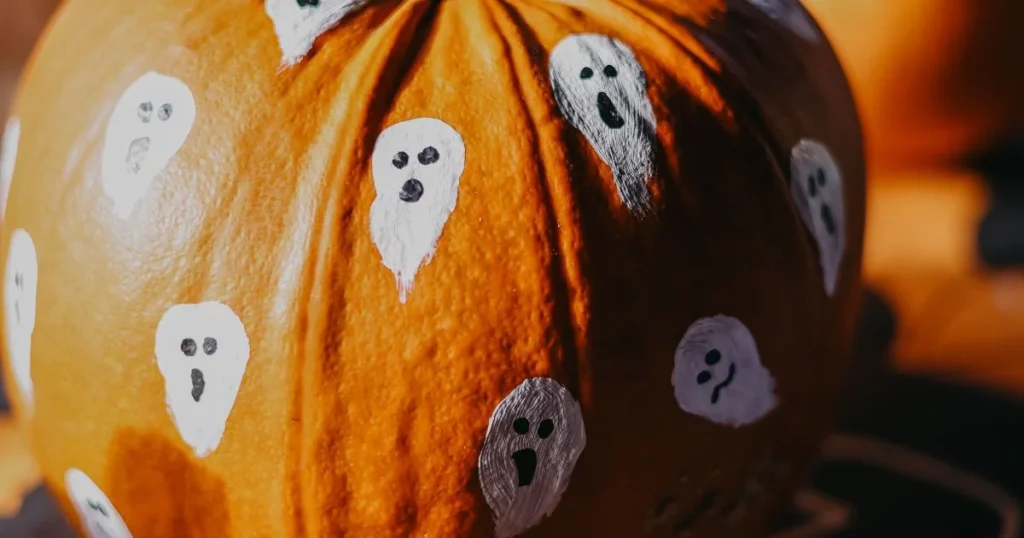
15. Friendly Ghost Pumpkin
A ghost is one of the easiest pumpkin painting ideas for Halloween. If needed, cover the pumpkin with white paint, let it dry, and finish with two dark eyes and a little mouth.
Give your ghost a surprised expression for a silly effect or a gentle smile to make it more inviting for young children.
16. Spiderweb Pumpkin
For a spooky touch, try this spiderweb design as part of your pumpkin painting ideas. Draw thin lines radiating from a central point, then join them with gentle curves to form the web.
Choose black paint on a white pumpkin for a sharp, striking contrast, or use white lines on a dark pumpkin for a bolder Halloween look.
17. Mummy Pumpkin
Create a cute mummy with these easy pumpkin painting ideas by painting overlapping white or cream stripes around the pumpkin. Leave a small gap between the strips for two eyes to peek through.
You can keep the pumpkin’s natural color as the background or paint it a darker shade first to make the mummy’s wrapping stand out.
18. Witch-Themed Pumpkin
For a witch-themed look, try these pumpkin painting ideas using classic Halloween colors like green, purple, and black. Paint a witch’s face, scatter a few stars across the surface, or draw the outline of a pointed hat.
For a more understated style, start with a cream-colored pumpkin and add a few black stars alongside a simple witch’s hat.
19. Skeleton Pumpkin
Use white paint to create a skull face against a black background. Add large eyes, a triangular nose, and a simple mouth.
For a less detailed design, paint just the skull face on an orange or white pumpkin.
20. Vampire Pumpkin
Paint a pale face, dark hair, and two pointed fangs to create a vampire pumpkin. Add a black or burgundy cape using painted shapes.
This design works well if you want something spooky without using carving tools.
21. Candy Corn Pumpkin
Give your pumpkin the look of classic Halloween candy by dividing it into three sections: white, orange, and yellow.
Use painter’s tape to create neat bands. Allow each section to dry before adding the next color.
22. Frankenstein Pumpkin
Paint the pumpkin green, then add dark hair, heavy eyebrows, and a stitched-looking mouth using suitable craft paint.
A few simple lines are enough to make the design recognizable. You can keep the expression friendly or make it more dramatic.
Aesthetic Pumpkin Painting Ideas for Fall Decor
Not every fall decoration needs a spooky face. If you prefer a calm, coordinated look, these pumpkin painting ideas can complement your home throughout the autumn season with soft colors, simple patterns, and elegant finishes.
23. Classic White Pumpkins
White pumpkins look elegant on a dining table, mantel, or front porch. If you’re painting an orange pumpkin white, use a compatible paint and apply thin coats as directed.
Pair white pumpkins with dried leaves, natural wood, or woven baskets for a simple seasonal display.
24. Neutral Beige and Cream Pumpkins
For a minimalist look, choose beige, cream, taupe, and warm brown. These colors work well together and can complement many interior styles.
You can leave the pumpkin plain or add subtle dots, lines, or small botanical details.
25. Sage Green Pumpkins
Sage green is a lovely choice if you want fall decor that feels understated. Paint the pumpkin sage and add cream leaves, small white dots, or muted gold accents.
Combine several shades of green for a natural-looking display.
26. Floral Pumpkin Painting
Paint delicate flowers and leaves around the pumpkin. You can create a few large blooms or a pattern of tiny flowers that follows the pumpkin’s natural curves.
If you’re a beginner, sketch the design lightly on paper first and choose a small color palette to keep the finished look cohesive.
27. Gold and Metallic Pumpkins
Metallic paint can add a little shine to your fall decorations. Try gold leaves, silver lines, or small metallic dots over a neutral base.
Use products suitable for the pumpkin’s material and intended display location, and follow their drying instructions.
28. Black-and-White Pumpkins
Create a modern design using black-and-white stripes, checkerboard patterns, geometric shapes, or fine lines.
This is a good option if you want Halloween decor that looks stylish rather than overtly spooky.
29. Rustic Farmhouse Pumpkins
Choose warm white, muted green, and brown to create a rustic look. Decorate your pumpkin with painted leaves, short phrases, or delicate patterns.
Arrange your finished pumpkins with natural textures for a cozy autumn display.
30. Plaid and Buffalo Check Pumpkins
Plaid patterns look especially appealing in traditional fall colors. Use painter’s tape to mark straight lines, paint one set of stripes, and add crossing stripes once the first layer has dried.
Choose two or three colors to prevent the pattern from looking too busy.
31. Boho-Inspired Pumpkin Designs
Try painted arches, abstract shapes, simple botanical motifs, or repeating line patterns. Muted terracotta, cream, brown, and sage green can create a coordinated boho-inspired look.
You don’t need to cover the entire pumpkin. Leaving some areas unpainted can make the design feel lighter and more balanced.
Glam, Metallic, and Unique Pumpkin Painting Ideas
Want something a little different? These designs add sparkle, unusual textures, or creative themes to your seasonal decorations.
32. Glitter Accent Pumpkins
Add glitter to selected areas rather than covering the whole pumpkin. You might create glittery stripes, stars, or a sparkling stem accent.
Use a suitable craft adhesive and consider cleanup before choosing loose glitter, particularly when crafting around young children.
33. Jeweled Pumpkin Designs
Decorate a painted pumpkin with decorative gems or sequins to create a glamorous centerpiece.
Choose a contrasting base color so the details stand out. Make sure tiny decorative pieces are kept out of reach of young children, as they may try to swallow them.
34. Galaxy Pumpkin
Paint the pumpkin in dark blue, purple, or black. Add small stars and dots to create a night-sky effect.
For more depth, blend two or three colors while the paint is workable, following the product’s instructions.
35. Glow-in-the-Dark Pumpkin
Use suitable glow-in-the-dark paint to create stars, ghosts, or silhouettes. A dark background can help the design stand out when the surrounding area is dim.
Follow the product instructions for application and charging. The brightness and duration of the glow depend on the paint and conditions.
36. Drip-Paint Pumpkin
Create a colorful drip effect by allowing compatible paint to flow down the pumpkin’s sides.
Place the pumpkin on a protected surface and experiment with a small amount of paint first. Allow the design to dry completely before moving it.
37. Marbled Pumpkin
Create a marbled appearance with compatible paints or a craft medium designed for marbling. Swirl contrasting colors gently to produce organic patterns.
Choose a technique suited to your materials and work area. Avoid using solvent-heavy nail polish as a default family craft, especially around young children.
38. Galaxy Constellation Pumpkin
For a detailed space-inspired look, coat the pumpkin in a deep, dark color, then draw tiny stars and link them with fine lines to create constellation patterns.
This works particularly well on black, navy, or deep-purple pumpkins.
39. Dessert-Inspired Pumpkin
Turn your pumpkin into a donut, cupcake, or ice cream cone. Paint colorful frosting, sprinkles, or decorative drips to create the effect.
Choose bright colors for a playful look or muted shades for a more understated design.
40. Character-Inspired Pumpkin
Take inspiration from your favorite fantasy, movie, or story themes. You might create a robot, fairy-tale character, or original superhero design.
Begin with familiar colors and basic shapes, then gradually add smaller details to complete the design. If you’re publishing photos of recognizable copyrighted characters, use artwork you have permission to reproduce.
What You Need for DIY Pumpkin Painting
You don’t need a large collection of supplies to try these pumpkin painting ideas. For many designs, a few brushes, suitable paint, and a pumpkin are enough.
Essential Supplies for Pumpkin Painting
Use this checklist to prepare your workspace:
- Real or artificial pumpkin
- Paint compatible with the pumpkin’s surface
- Small and medium paintbrushes
- Sponge brushes or cotton swabs
- Painter’s tape
- Suitable stencils, if needed
- Paint palette and paper towels
- Protective covering for the table
- Apron or washable craft clothing
- Optional decorative materials appropriate for your project
What Paint Works Best on Pumpkins?
Acrylic craft paint is a popular choice for pumpkin painting ideas because it comes in many colors and works well for a wide range of designs. However, the best paint depends on your pumpkin’s material and where you plan to display it.
Washable craft paints can be useful for supervised children’s projects, although they may not hold up as well in damp conditions. Spray paint may work for certain base layers, provided it’s suitable for the pumpkin’s surface and applied according to the manufacturer’s safety guidelines.
Crayola, for example, recommends several of its paint products for decorating real and artificial pumpkins. It also advises testing the paint and protecting decorated pumpkins from the elements. Pumpkins decorated with its art materials should not be eaten. Source: Crayola’s pumpkin decorating guidance.
Should You Use a Primer or Sealer?
When trying different pumpkin painting ideas, a primer or base coat can help some designs look more even, especially when you’re covering a dark or brightly colored pumpkin with a lighter shade. Whether you need one depends on the pumpkin’s surface and the type of paint you use.
A compatible protective finish may help preserve the appearance of certain designs, but it won’t make every pumpkin waterproof or stop a real pumpkin from naturally decaying. Always check the manufacturer’s instructions before applying paint, primer, or sealant.
How to Paint a Pumpkin Step by Step
Once you’ve chosen your design and supplies, follow these steps to create a neat finish.
Step 1: Choose and Prepare Your Pumpkin
Select a firm, undamaged pumpkin. 3. Clean the pumpkin with an appropriate cloth to remove any dirt, then allow it to dry fully before applying paint.
For artificial pumpkins, follow the manufacturer’s cleaning and preparation instructions.
Step 2: Choose Your Design and Colors
Decide what you want to create before opening your paints. If you’re planning a detailed design, sketch it on paper first.
Choose colors that work well together and gather the brushes or stencils you’ll need.
Step 3: Apply a Base Coat
Certain designs benefit from a layer of base paint, while others look great when applied directly to the pumpkin’s original surface.
If you use a base coat, apply thin, even layers and allow each layer to dry as directed. Applying multiple light layers can create a smoother, more uniform result than using one thick layer of paint.
Step 4: Add Patterns and Details
Use smaller brushes for facial features, flowers, and fine lines. Sponge daubers or cotton swabs can help you create dots and textured patterns.
If you’re using painter’s tape, make sure the underlying paint is dry before applying it. Remove the tape carefully according to the paint’s instructions.
Step 5: Let the Pumpkin Dry
Follow the paint label’s drying and curing instructions. Avoid handling the pumpkin while the finish is wet or tacky.
Step 6: Display Your Finished Pumpkin
Choose a display location suited to your materials. Painted real pumpkins are generally best protected from excessive moisture and heat, while artificial pumpkins should be displayed and stored according to the manufacturer’s guidance.
How to Make Painted Pumpkins Last Longer
A painted pumpkin can be a lovely seasonal decoration, but its lifespan depends on the type of pumpkin, its condition, the paint, and the surrounding environment.
Tips for Real Pumpkins
- Choose a firm pumpkin without obvious bruises or soft spots.
- Keep it away from excessive heat and moisture.
- Avoid leaving it in a spot where rainwater collects.
- Inspect it regularly and remove it from your display if it begins to decay.
- Remember that paint does not stop natural deterioration.
University extension guidance recommends choosing undamaged pumpkins and considering display conditions to help reduce premature deterioration. Source: Mississippi State University Extension.
Tips for Artificial Pumpkins
- Choose paint that is compatible with the pumpkin’s material.
- Let the paint and sealant dry completely, following the product’s recommended drying or curing time.
- Store the decoration in a clean, dry location when the season ends.
- Keep it away from excessive heat that could damage the material.
Pumpkin Painting Safety Tips for Families
Pumpkin painting can be a fun family activity when you choose appropriate materials and prepare the workspace.
Keep these precautions in mind:
- Check product labels: Follow age recommendations, ventilation instructions, and other safety directions.
- Supervise young children: Stay nearby and keep paint away from mouths and eyes.
- Choose suitable art materials: In the United States, look for the ACMI Approved Product (AP) Seal on appropriate art materials for young children. The seal indicates that a product has been evaluated as non-injurious when used as intended; it does not mean the paint is edible. Source: Art and Creative Materials Institute.
- Use spray products carefully: Spray paint and solvent-containing products should be handled only as directed, with appropriate ventilation and adult supervision.
- Avoid choking hazards: Keep small gems, buttons, and detachable decorations away from young children.
- Protect food: Do not eat pumpkin flesh that has been exposed to non-food-safe craft paint or other decorative materials.
These precautions help you choose a project that suits your family’s needs without taking the fun out of crafting.
Frequently Asked Questions About Pumpkin Painting Ideas
What Are the Easiest Pumpkin Painting Ideas for Beginners?
If you’re new to pumpkin painting ideas, start with polka dots, stripes, smiley faces, or two-tone designs. These simple patterns are easy to create with basic shapes, require only a few materials, and can be customized with any color combination to match your fall decor.
What Kind of Paint Works Best for Pumpkin Painting Ideas?
When choosing paint for your pumpkin painting ideas, consider whether you’re decorating a real pumpkin, a foam pumpkin, or a plastic surface. Acrylic craft paint is a popular option for decorative designs, but always check the product label and test a small area first.
Can Toddlers Participate in Pumpkin Painting?
Many pumpkin painting ideas are suitable for toddlers when adapted to their abilities and done with close adult supervision. Offer simple activities, such as making large dots or filling broad areas with a suitable brush or sponge. Choose materials labeled for your child’s age, and keep paint away from their mouth and eyes.
How Do You Make Paint Stick to a Smooth Pumpkin?
To get the best results with your pumpkin painting ideas, start with a clean, dry surface and choose paint that suits the pumpkin’s material. Apply thin coats, allow each layer to dry fully, and follow the manufacturer’s instructions. Some artificial pumpkins may need extra surface preparation to help the paint adhere properly.
Do You Need to Prime a Pumpkin Before Painting?
Not every design needs a primer, but some pumpkin painting ideas benefit from a base coat for smoother, more even coverage, especially when painting a dark pumpkin a lighter color. Always follow the paint and pumpkin manufacturer’s recommendations.
How Do You Stop Pumpkin Paint From Peeling?
Before starting your pumpkin painting ideas, clean the pumpkin and let it dry completely. Choose paint suitable for its surface and follow the recommended drying time between coats. Once decorated, keep the pumpkin away from moisture and harsh conditions that could cause the paint to peel or deteriorate.
Can You Paint Artificial Foam Pumpkins?
Many pumpkin painting ideas work well on foam pumpkins, provided you choose paint that’s compatible with the specific foam material. Some solvent-based products can damage certain types of foam, so always check the product label before applying paint or a protective finish.
How Long Do Painted Pumpkins Last?
There is no single lifespan for all painted pumpkins. Real pumpkins eventually deteriorate, and their condition depends on temperature, moisture, damage, and other environmental factors. Artificial pumpkins can often be reused for multiple seasons when cared for properly.
What Are Some Non-Scary Pumpkin Painting Ideas for Fall?
Try neutral pumpkins, floral patterns, sage-green designs, smiley faces, woodland animals, and simple geometric shapes. These designs work well for autumn decor without relying on spooky Halloween imagery.
Can You Paint a Pumpkin Without Carving It?
Absolutely. Pumpkin painting decorates the outside without cutting into the shell, making it a popular no-carve alternative for seasonal crafts and family decorating.
Conclusion: Find Your Favorite Pumpkin Painting Ideas
Decorating pumpkins doesn’t have to involve carving tools or complicated techniques. With a few supplies and a little creativity, you can make colorful Halloween characters, cute designs with your kids, or elegant decorations for your home.
Start with a simple pattern if you’re new to painting, or experiment with metallic accents, flowers, and galaxy-inspired designs if you want something more distinctive. Choose a project that fits your time, materials, and style, and remember that the goal is to enjoy the process rather than create a perfect result.
Which of these pumpkin painting ideas would you try first? Save your favorite design on Pinterest, share this guide with a fellow craft lover, and explore more seasonal inspiration in Parenting Whisper’s Halloween activities for kids guide.